
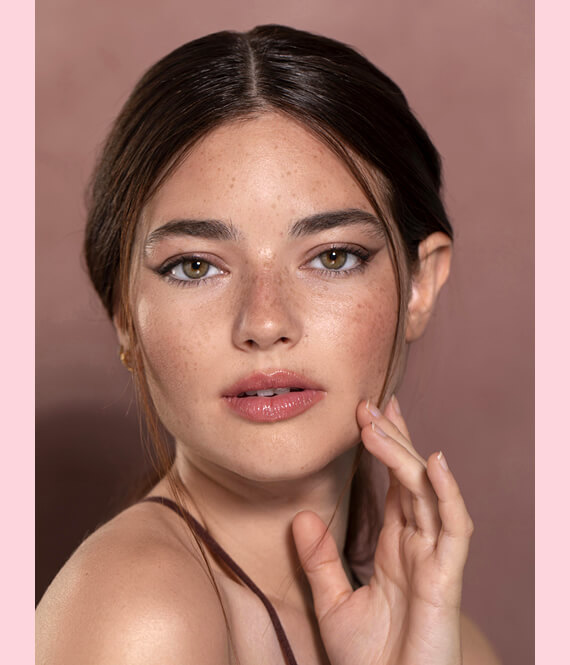
Listen to this story and tell me if it ever happened to you. You buy a new shimmery bronzer and, with the dreams of looking like a bronzed diva, you apply it all over your face only to look like… A Cheetos dusted mess at the end.
Well, this experience may be enough to turn you off from bronzers, but there is some good news for you! Applying a bronzer properly isn’t as daunting as it seems, and you can get that gorgeous sun-kissed glow by following a few simple tips. Are you ready to rock that flawless bronzy glow? Here’s how to apply bronzer the right way – without looking dirty, muddy, or weird.
First Things First: Bronzer Formulas
If you want to learn how to apply bronzer properly, you first need to choose a formula that is best suited for your skin type. Generally, you should steer clear of shimmery bronzers in favor of a matte or satin finish. Not only does it look more natural, but a matte bronzer will help you play up your features to achieve a warm glow.
The next important thing is the shade, and while the market is filled with hundreds of products, there is no one-size-fits-all shade when it comes to a bronzer. To choose the perfect shade, you need to assess your skin tone and remember to never get a bronzer more than 2 shades darker than your own skin color. While it may seem tempting to select a dark chocolate shade on a pasty white complexion to make your face look sculpted and glowing, you will only end up looking muddy and unnatural.
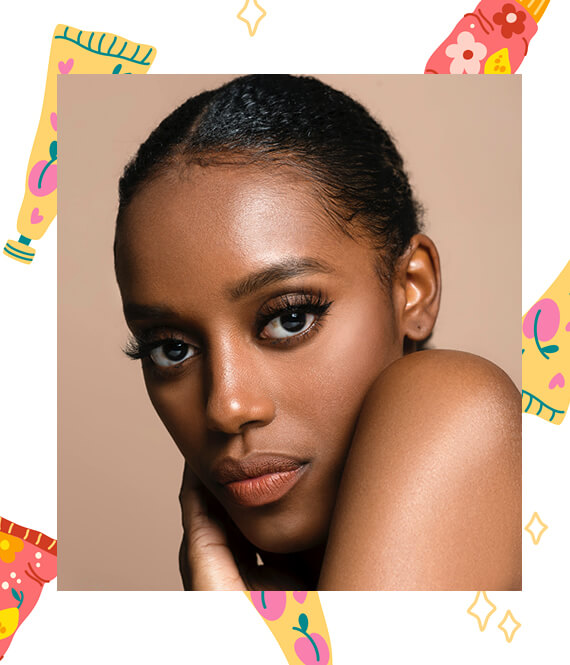
For fair skin tones, opt for a bronzer with peachy undertones that is only one shade darker than your skin. Medium-colored people can look for copper to golden undertones, and for all the dark-skinned beauties, it’s recommended to choose a non-rusty brown shade to complement your natural skin.
How To Apply Bronzer With Your Fingers
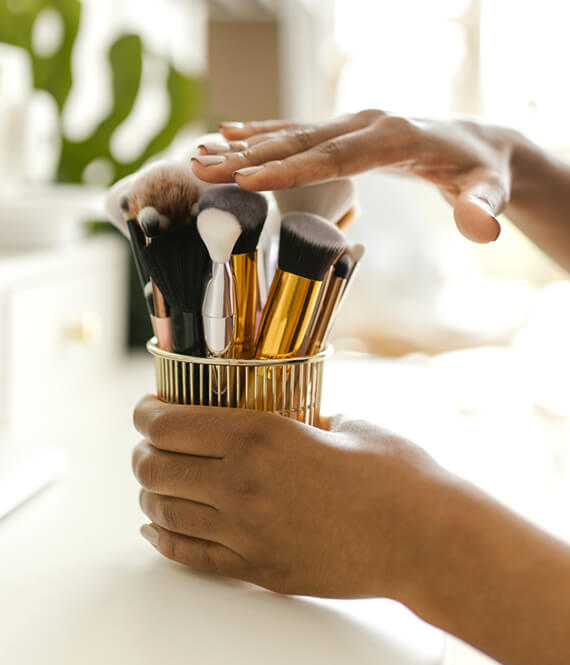
… Just Kidding, Fingers Won’t Work Here. Once you have chosen the right bronzer for your skin, there is one last step before you can start swiping it on your face, and that is choosing the right bronzer applicator. For powder contours AKA bronzers, it is best to opt for a fluffy angled brush instead of a densely bristled brush. It will help the application process in two ways:
- First, the fluffy bristles help to distribute a light layer of the product rather than packing it in.
- Second, the angled tip is great to add definition to your cheeks and nose.
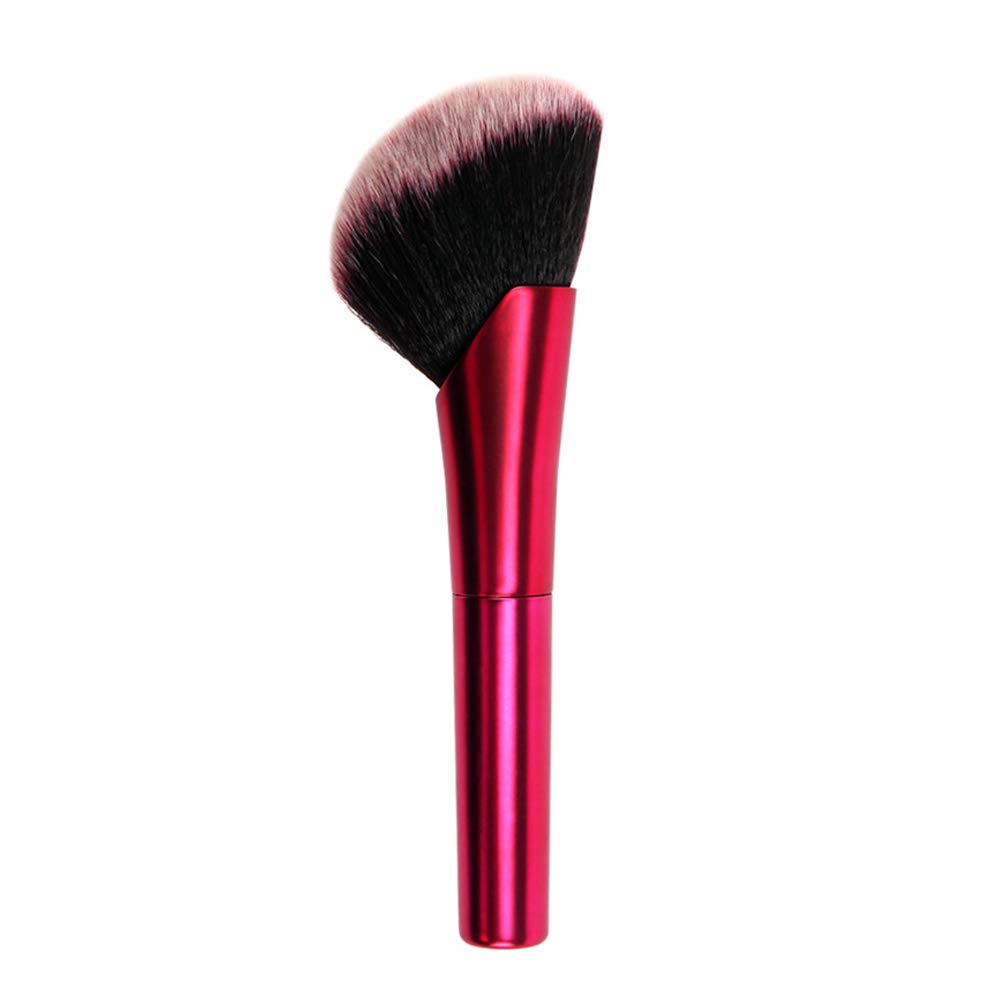
ApexOne Synthetic Blush and Bronzer Brush with AL handle
How To Apply Bronzer Step By Step
Once you have all the tools ready, you can begin the fun part. Here are some tips and tricks that would really smooth down the application process, and hopefully, when you follow these, you will once again fall in love with bronzers!
How To Apply Bronzer If You Are Using a Powder Product
- Dip your angled brush in the powder, swirl it around a few times and then dust off the excess. This step helps remove some of the extra product so that you don’t put a lot of powder on your face.
- Move the brush in small circles, and apply the product near your hairline and the temples, to define and warm up your forehead.
- Next, apply some more powder and start working on your cheeks. While using the same concentric circular motion, swipe the product under both cheekbones and really blend it out.
- Finally, take your brush and use it to carve your jawline by adding the product to the base of your jawline and the chin.
- Once you are done with the basics, you can take this one step further and define your nose. To contour the nose, use the same brush and dust off the excess really well, then swipe it down your nose on either side of the nasal bridge to get a soft-focused look.
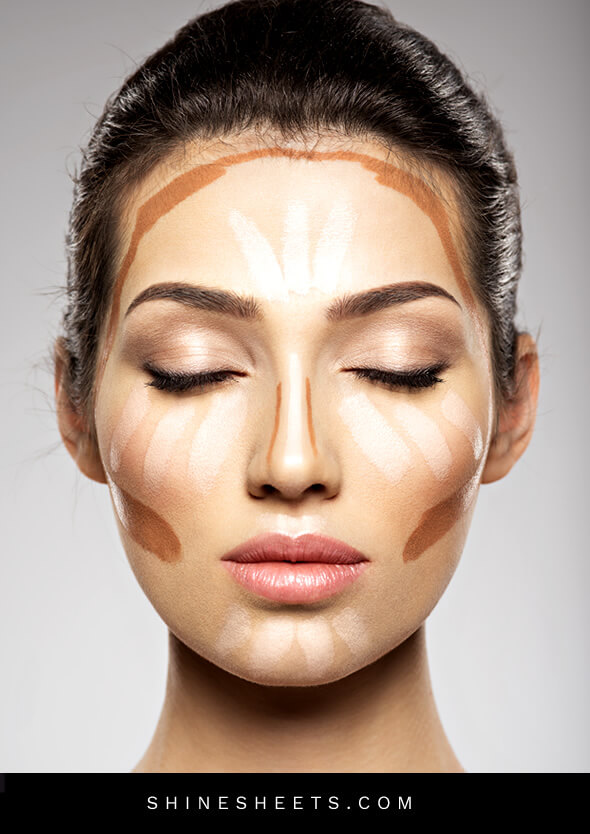
Essentially, the aim of bronzing is to make a shape ‘3’ on your face, starting from the hairline you move to the cheeks, and finishing at the jaw to get the classic shape. If you want a softer, more glowy effect, skip the forehead and apply some highlighter on your brow bone and nose bridge instead:
While bronzing, always remember to tap off the excess and never apply a lot of product in one swipe. It is much easier to layer on the product than it is to remove it, and layering gives a much more subtle and natural look.
After you have applied the bronzer, make one final check, and blend out any harsh lines using swift small circles until it all seamlessly comes together.
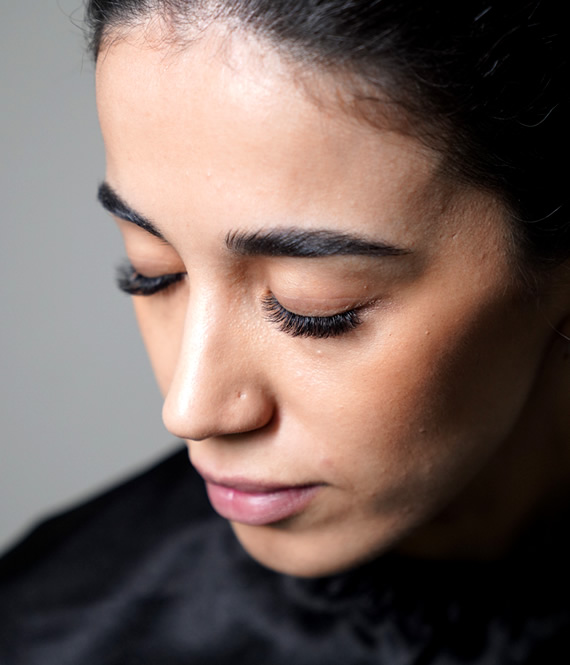
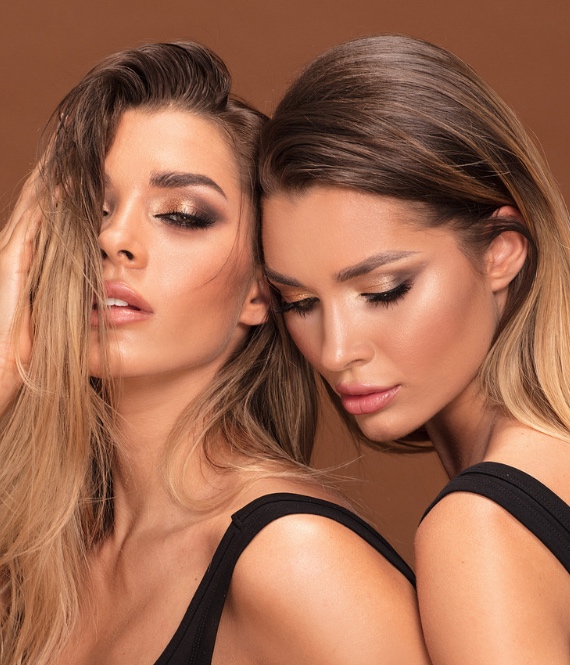
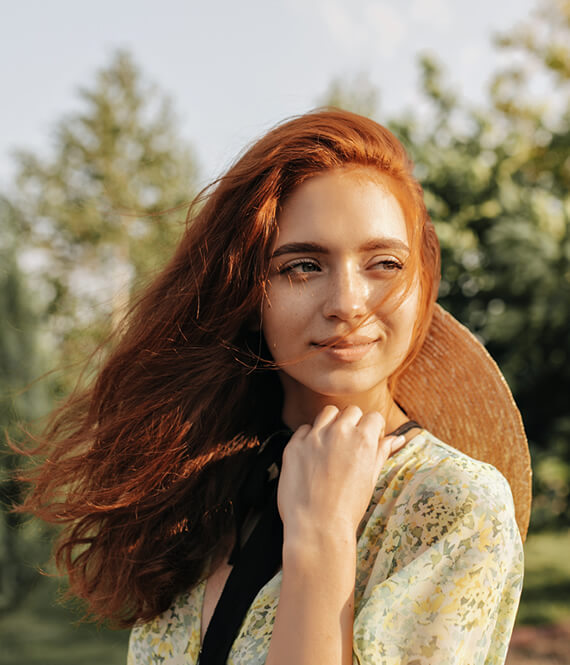
Here’s a beautiful example of a great bronzer application:
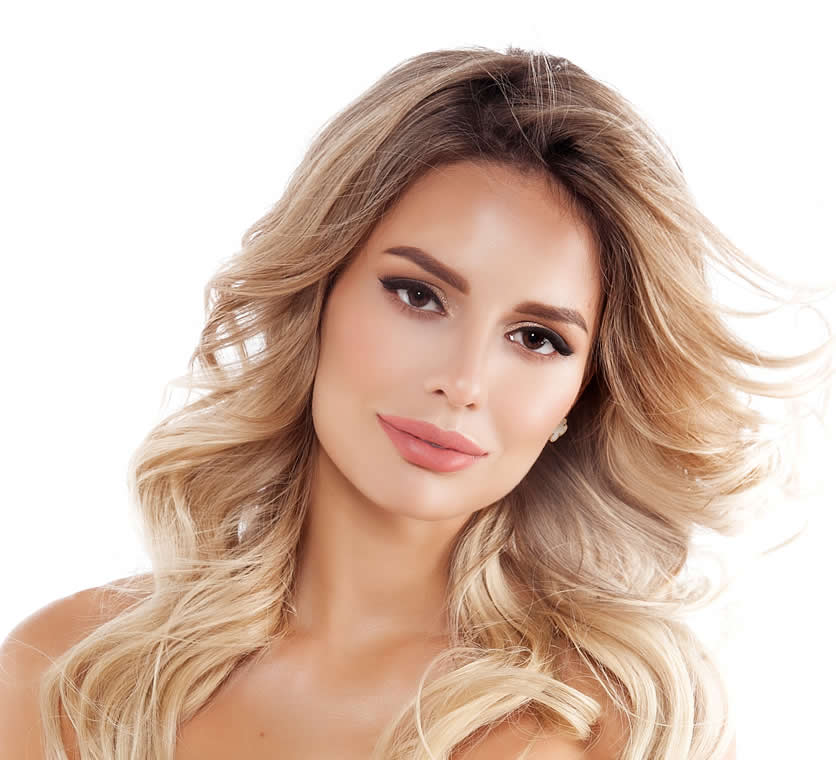
Notice how her cheekbones and forehead are bronzed slightly more, yet don’t look overpowering compared to her skin tone. Her nose is contoured just a bit to give definition but doesn’t look dirty at all. Her jawline looks pretty sharp thanks to bronzer as well.
How To Apply Bronzer If You’re Using a Cream Product
With cream bronzers, the process is similar, but I recommend skipping the bottom jawline part just to avoid any mess on your clothes. Also, the absolute best results with cream bronzers come when they are paired with a little bit of cream highlighter to accentuate the highest parts of your face. This creates even more depth in the places where you have used a bronzer.
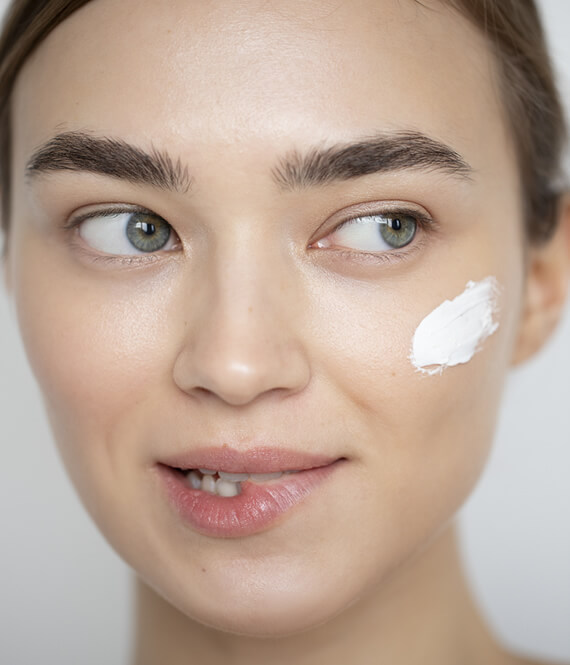
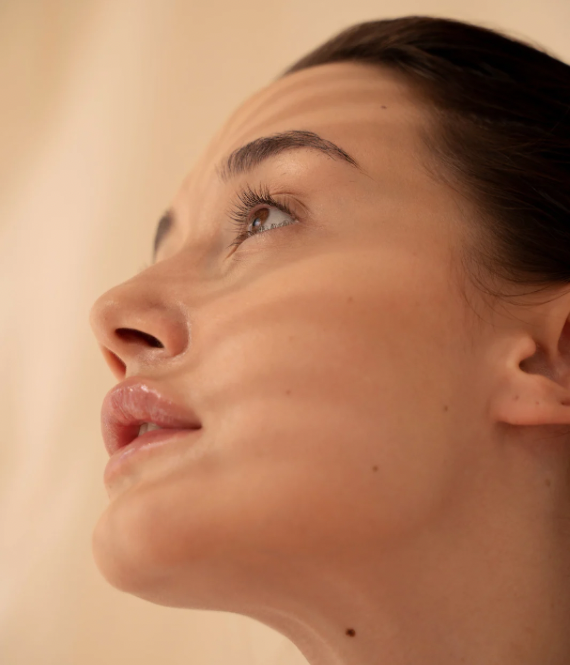
Here’s a guide you can follow with your cream bronzer for a great finish (to blend, use a beauty blender and dabbing motions):
And Voila, there you have it. Here’s how to apply bronzer to make your skin glow and achieve that perfect sun-kissed look. I hope you enjoyed reading this and if you’re up for more beauty & makeup tips, just scroll down below!

Hi! I am author + writer on personal development, beauty, relationships and self-care, sharing insights through this blog since 2018. After years of practicing personal growth, emotional wellness and feminine lifestyle (plus 19 years in a thriving relationship), I share effective and tested advice to help you foster beauty, self-improvement and order in your life. Some articles are written by a small team of beautiful writers I trust.


Leave a Comment